Saturday, 30 July 2011

TECNIQUE 2

About my tecnique... here I leave the second one:

2- Epoxic clay. I build a structure with wire. I cover it with rigid urethan foam which I shape until the volume is quite perfect. The foam I use is a bicomponent one. It is cheap, but remember to use a filter mask to avoid intoxication! You can use the sealer one. It's easier, until you learn to control the bicomponent one.
This phase is important because it ease the entire process... if the volume is imperfect, you'll spend lot of time repairing it and trying to change it. Then I cover the foam with a thin coat of epoxic clay. The difficulty here is that it dries in an hour, so you have to give detail immediately. The trick is work in part, like a puzzle, until the surface is done. I work the texture with metal dental tools, to give shape and texture. Some people prefer to use a minidrill to give details. I don't, but the results I saw are great!
The final step is paint it with oil, acrylic, water colors, spray cans, aerograph...

Here I'm shaping foam with knives and sandpaper


Here another work in process: you can see the wire structure covered by foam (the pink thing: I colored it to seal the dust of the foam). A thin epoxic clay coat cover part of the body. It is already detailed with texture. The sketch show the wanted result.


Another work in progress: life size.


This is almost finished, already painted.


TECNIQUE 1

About my tecnique , basically I use 2 different ones:

THE FIRST ONE

1- Resin and fiberglass. It is the one I used time ago, and now I use only sometimes. I build the structure in rigid urethan foam, or metal, or what helps me the best, then I work with wax clay. I made a silicon mould with rigid shell (plaster bandages or fiberglass) and I cast it in fiberglass.
Finally, I clean all the edges and repair the imperfections with gelcoat or epoxic clay, and I paint it!

Below, you can see "Gordo" during the mould process: the pink is just acrilyc spay to help the removal of the barrier (division between the parts of the shell). It is a 6 parts mould: it is built in "rings": legs, bust, head, each in 2 parts.
Here the front of the legs is covered by silicon rubber.


Here a coat of silicon on the face!


Here the recent opened mould of Mushroomoon (first picture), with the clay model half destroyed... and the resin cast (second picture) while I'm repairing it with putty.

URBAN ART MILANO

Here the ones I left in Corso Como, Milano...


Sunday, 10 July 2011

URBAN ART IN TORINO

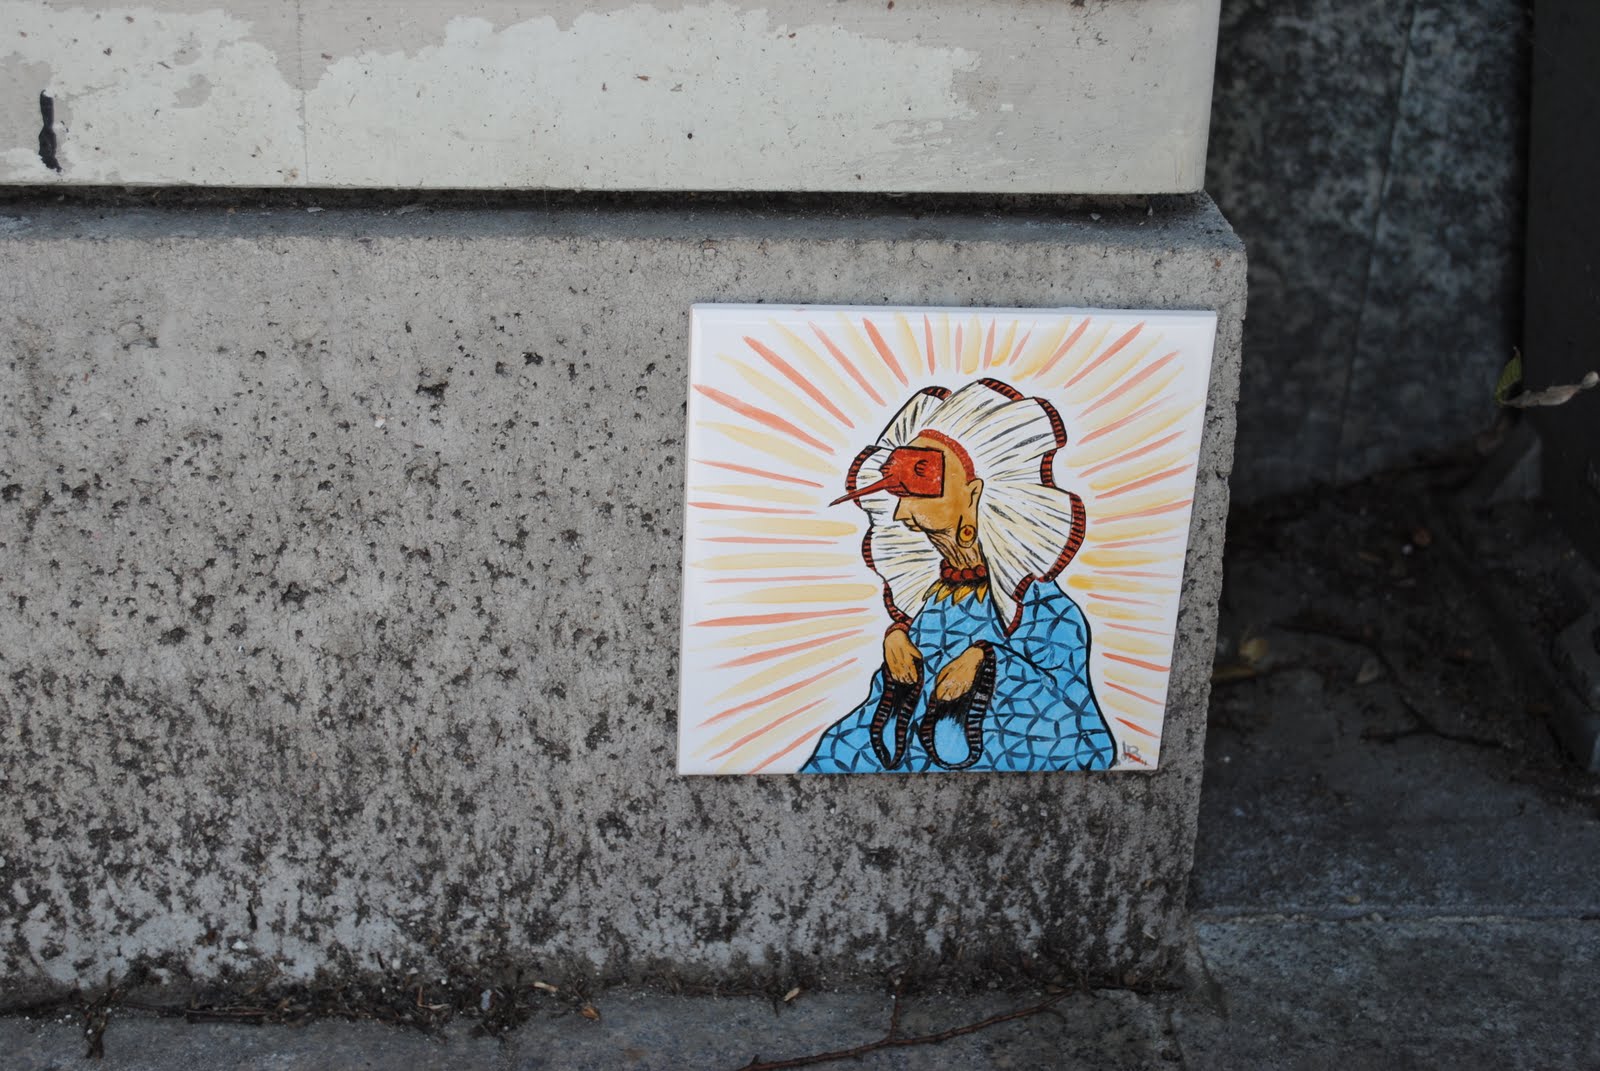
I'm back from a 45 day trip in Europe. I took some time to rest from sculpture, and I decided to have some graphic experience. So I painted some tiles with the third firing techinque.... funny!

Here the results of 3 pieces in Torino....


Torino, zona Piazza della Repubblica


Torino, Via Ormea


Torino, Via S.Pellico

MUSHROOMOON en TALLER EN VIDA

Mushroomoon regresò a la vida el 7 de Mayo 2010...

En el "taller en Vida" en 75ºcolor de Arturo Negrete!!
Fue un honor trabajar con personas tan profesionales y expertas,
sin embargo tan sencillas y amigables.
Una experiencia enriquecidora! Graaaacias a todos de corazon!

(es de buena suerte tocar las bubis de Mushroomoon!)


WHY MUSHROOMOON?

There are many stories around Mushroomoon, some true some not, some sweetened with details.

The naked truth? Mushroomoon stems from a profound moment of doubt about my art, its value for those who see it. It comes from a strong criticism by a dealer at the time to show him my portfolio, a few sharp words "your art you can not be sold and can not be in a gallery. "
My first reaction was total paralysis, pain and inner drama, disorientation and fear. Two days without moving a muscle.

When I decided to do something about, and I could find the good in the criticism, my mind opened to new possibilities. Maybe commonplace (everyone is making urban art, in these days) but for me, so and shy (really?), meant and still means having the courage to get in view in spite of everything, choose the street as a personal gallery, waiting for other things or new activities.
Yes, Mushroomoon comes from the imperative to find a place for me in the world, perhaps selfishly, but without compromise.
In those days in late December 2010, I rediscovered the enthusiasm to work feverishly for hours at a precise objective: to put my sculpture in Plaza Rio de Janeiro, in Mexico City, where I live.
And I decided that ... it would be the largest in my collection, bigger than me and it would be at a point where it was impossible not to see her passing by.

On the night of December 31, while everyone drunk were celebrating the New Year, I was mixing cement in a corner of the park of the Plaza, assisted and covered by my husband Diego and Lobo, a friend.

That's the way this tender-eyed creature was born. It remained in the street for only six days before the police are noticing the irregularity and carried her off.

Now, after a massive recovery operation, it is safe, at home, waiting for a new journey ...


MUSHROOMOON SECOND EPISODE !

Another Mushroomoon appeared on Friday 11th !!

This time is a small, tender little one.
If you want to see it, you can find it in Colima street, corner with Cuah
utemoc, Colonia Roma.


Of c
ourse, currently it was removed by the police, but this time I didn't move a muscle to have it back... I prefer to go on with new interventions!